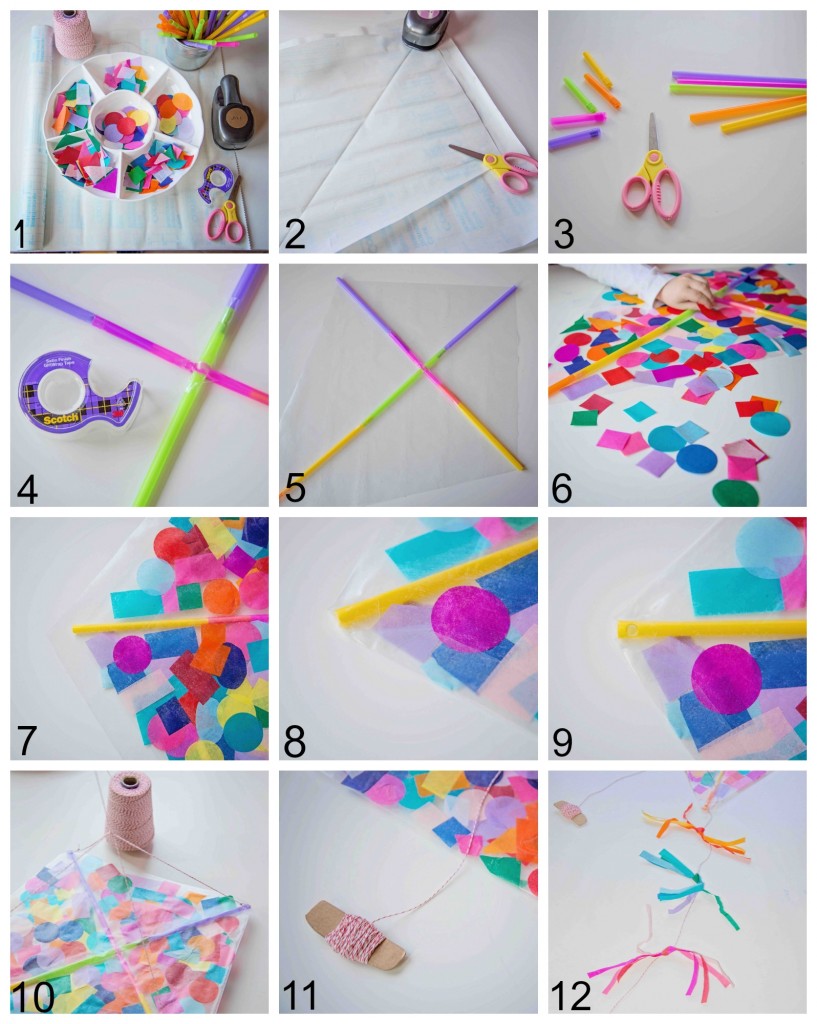
Spring is just around the corner. The days are getting longer and we are getting closer to the days where we can open the windows and let the breeze drift in. This contact paper confetti kite we made last year around this time is a great craft for those days. I wanted this craft to be something that would actually fly, and something the kids could help assemble. After racking my brain for awhile I had (in my opinion!) a stroke of genius and we set to work making our kite out of contact paper and confetti! Here’s the full tutorial!

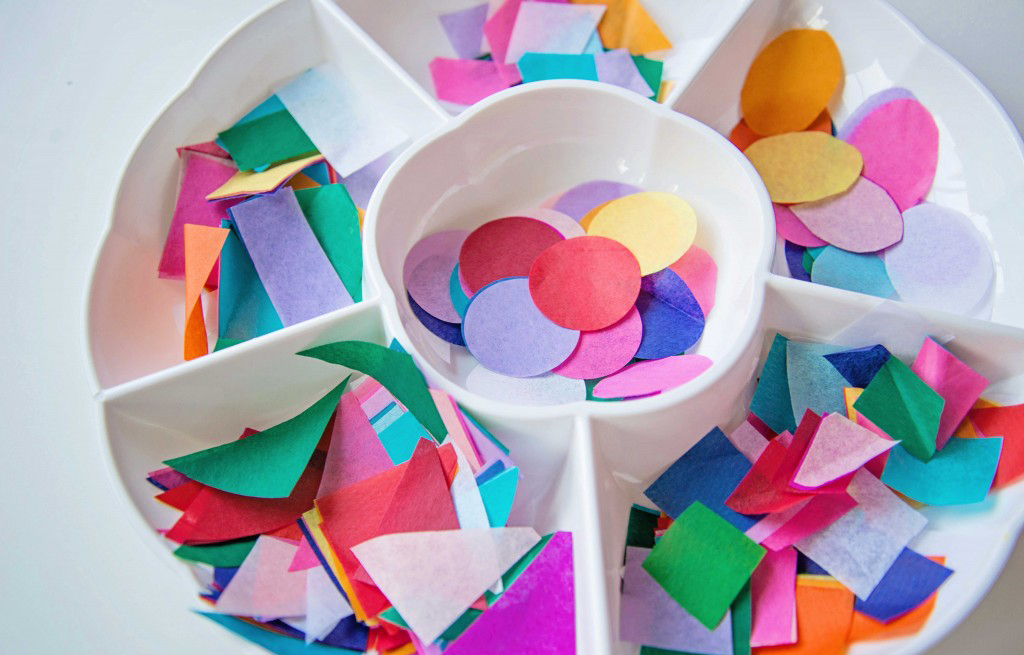
- Gather your materials: clear contact paper, mulitcolored tissue paper, wide straws, tape, string, scissors and a hole punch.
- Cut a diamond shape from the contact paper, make it almost as big as possible given the dimensions of the sheet. Make sure it’s symmetrical! Then, cut a second diamond, one inch bigger all the way around than the first diamond you cut.
- Prepare your wide straws, if they have a bendy section, you’ll need to cut that off. Insert the straws inside each other until you have a cross shape (cut a small hole in the middle of the crossbar so that they make a “t”).
- Tape all of the joints, secure the middle especially well.
- Remove the backing from your smaller diamond and adhere the straw cross.
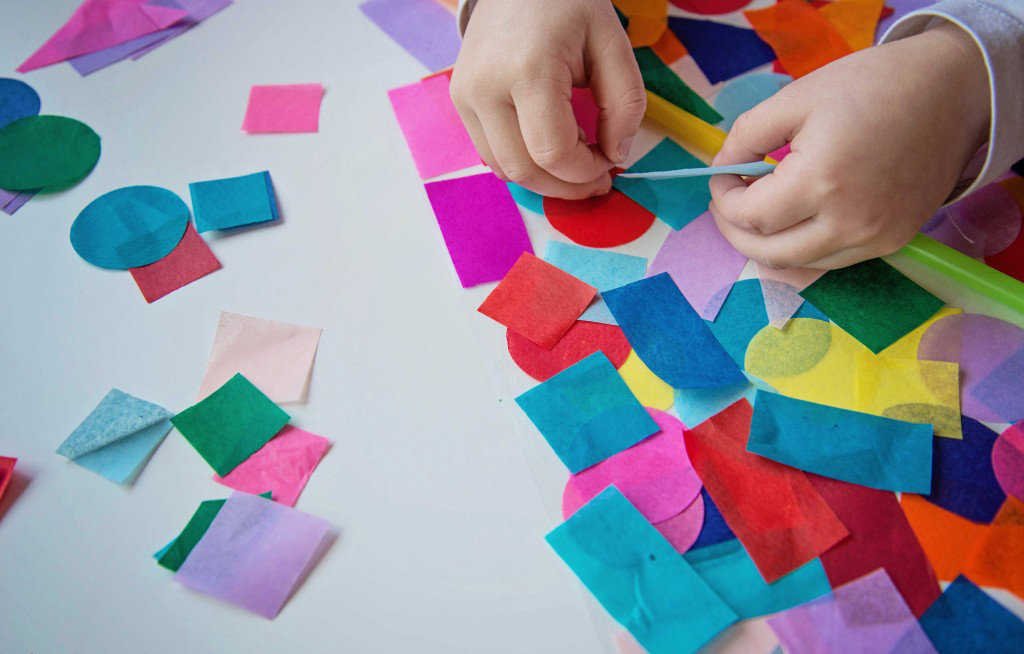
- Decorate your kite with mulitcolored tissue paper, confetti, glitter, or any other LIGHT material.
- Remove the backing from the larger diamond and then place the decorated half of the kite on top.
- Fold the one inch perimeter of the larger diamond up to enclose the kite, press and seal.
- Hole punch the four straw ends.
- Make a bridle for the kite by tying a piece of string top to bottom, then side to side.
- Where the strings of the bridle meet, tie a very long string to be the actual kite flying string! Roll the excess up with a piece of cardboard or a dowel to keep it neat.
- Add a tail to the bottom point of the kite by attaching a four foot string and tying strips of tissue paper around it. You’re done, now go fly a kite!

I chose to use mulitcolored tissue paper cut in to different shapes to add in a bit more learning for the kids. They were working on learning shapes and colors so we played a bit of an I spy game where I asked them to find me a blue triangle or purple oval for example.

The kids loved the “giant sticker” as they called the contact paper. It ended up being a genius kite making material because it’s light, durable, inexpensive and easy to acquire!

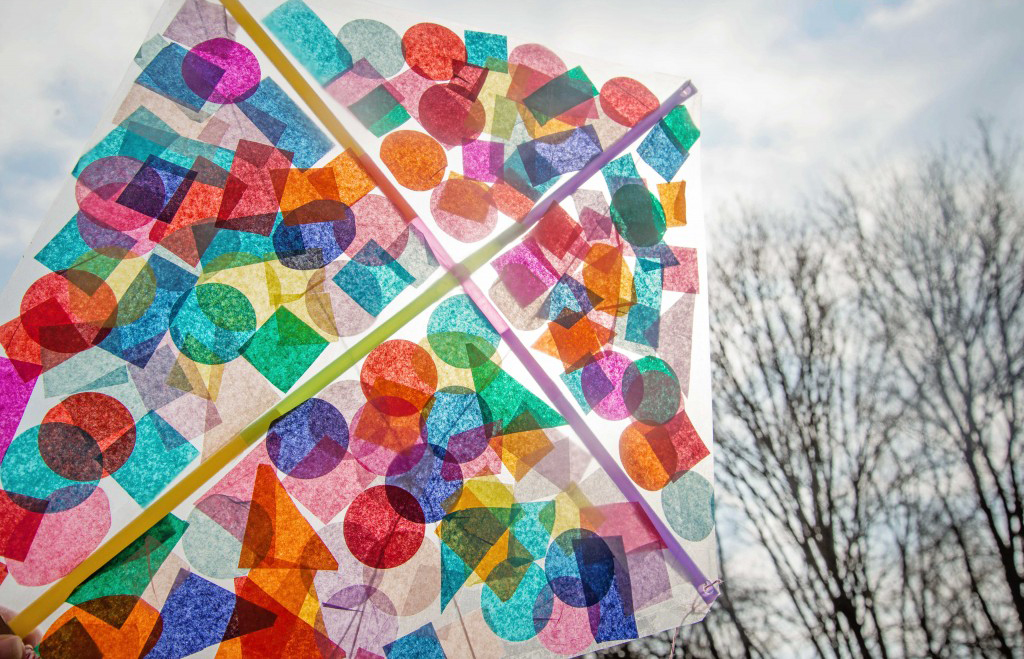
The kite turned out beautifully, it looks like stained glass! It definitely catches the breeze and soars for a bit!
Here are some more Activities for Kids ideas
